The HTML Report Plugin⚓︎
The QTAF HTML report plugin offers the possibility to create an HTML report from the log messages generated by QTAF, which can then be opened in a browser.
The HTML report plugin is included in the QTAF framework by default. You do not need to add any dependencies other than the QTAF framework itself in your pom.xml file.
You can view an example of an HTML report from QTAF here: QTAF HTML Report
Activating the HTML Report Plugin⚓︎
In addition to qtaf-core, first integrate the dependency qtaf-html-report-plugin into your project: Make sure that you use the current version numbers of these modules. You can find them at the Maven Repository
To activate the HTML-Report-Plugin you have to set the value htmlReport.enabled in the configuration file to true. Then run your test cases.
Displaying the HTML reports⚓︎
You will find the HTML reports in the folder ./logs relative to the root directory of your project. The generated HTML files can be opened in any browser. Let's now take a look at the structure of the report.
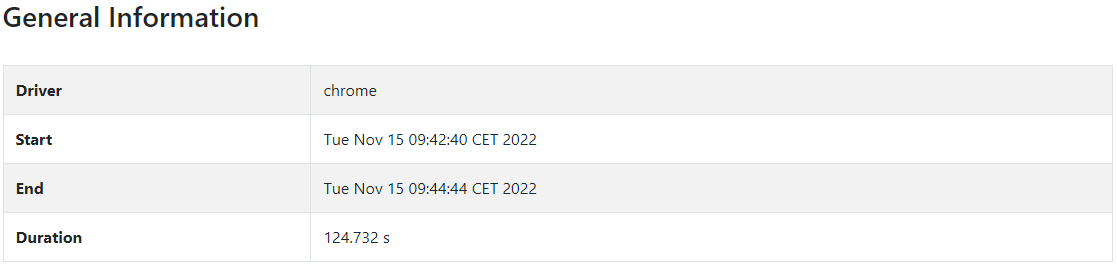
First, the report shows you general information about the execution of the test cases, such as the execution time of the test suite, start and end dates, and the Selenium driver used.
Below this information you will find a list of the test features that the executed test suite contains. In this example, these are the test features QTAF-496 and QTAF-567. The names of the test features come from the annotation @TestFeature of the respective Java classes that represent the respective test features.

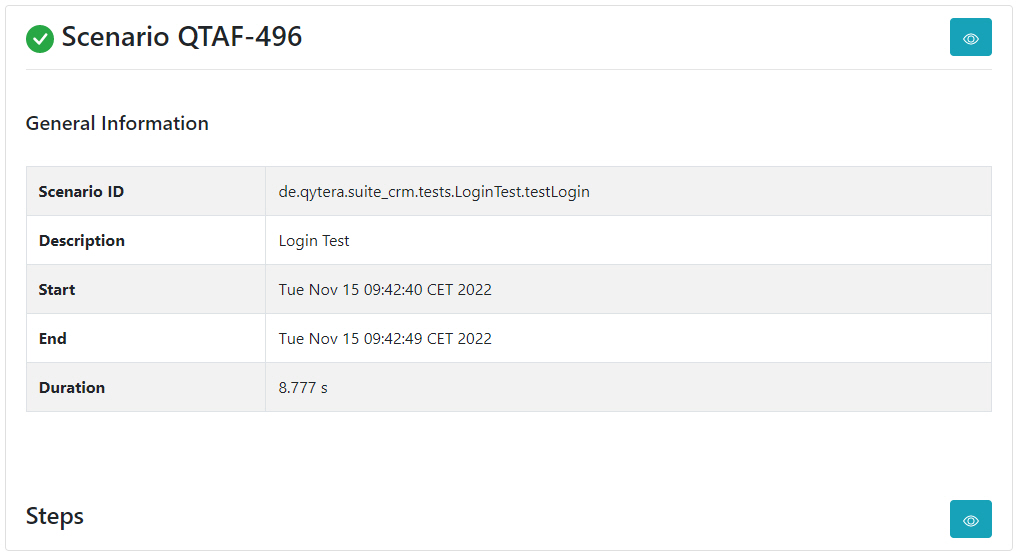
Below the respective test features you can see a list of the test scenarios that contain the test features. Test scenarios are represented in TestNG by the methods of a test class, which are provided with the annotation @Test. The name of the scenarios displayed in the HTML report comes from the attribute name of this annotation.
If we now click on the button to the right of the scenario name, we get more details about the executed test scenario. On the one hand, we see the full path of the class and the method it contains, which represents the scenario shown. In this example, this would be the class de.qytera.suite_crm.Logintest.testLogin. This ensures the traceability of the test results to the test definitions. Further information displayed in the report are the start and end times of the execution of the test scenario as well as its duration.
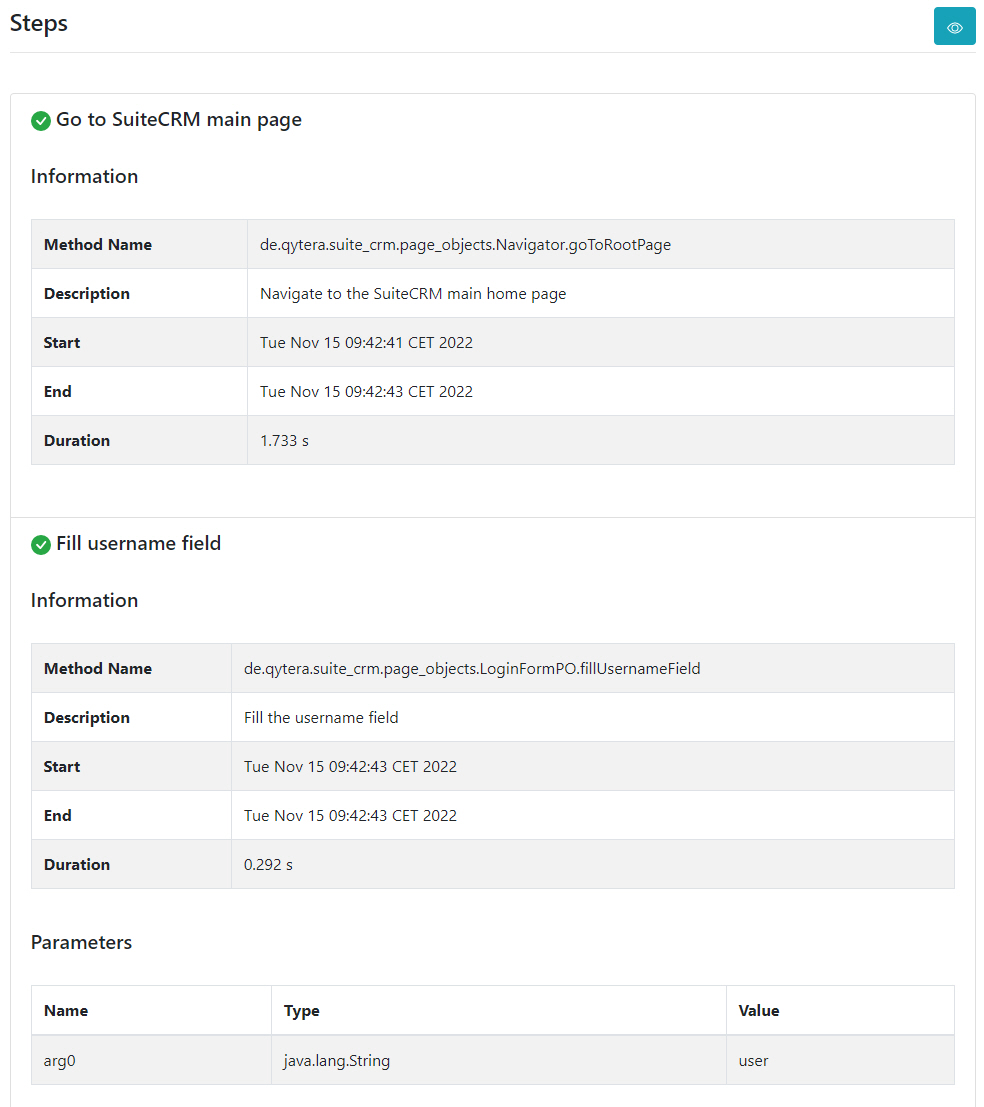
But the report contains even more information about the executed test cases. Now click on the button to the right of "Steps" to get information about the individual test steps of the scenario.
You will now see a list of the test steps of the test scenario. Each test step listed in the report corresponds to the call of a Java method annotated with the annotation @Step. In our example, these are the methods goToRootPage and fillUsernameField. These come respectively from the two page object classes Navigator and LoginFormPO. These page object classes could look like this:
In the HTML report, you can see that the individual steps contain information about the complete package path of these methods. Thus, traceability between test steps and test documentation is also guaranteed for the test steps.
Furthermore, you can also see that the passed parameters of the test steps are documented. For example, a parameter of the type string with the value "user" was passed to the method fillUsernameField.